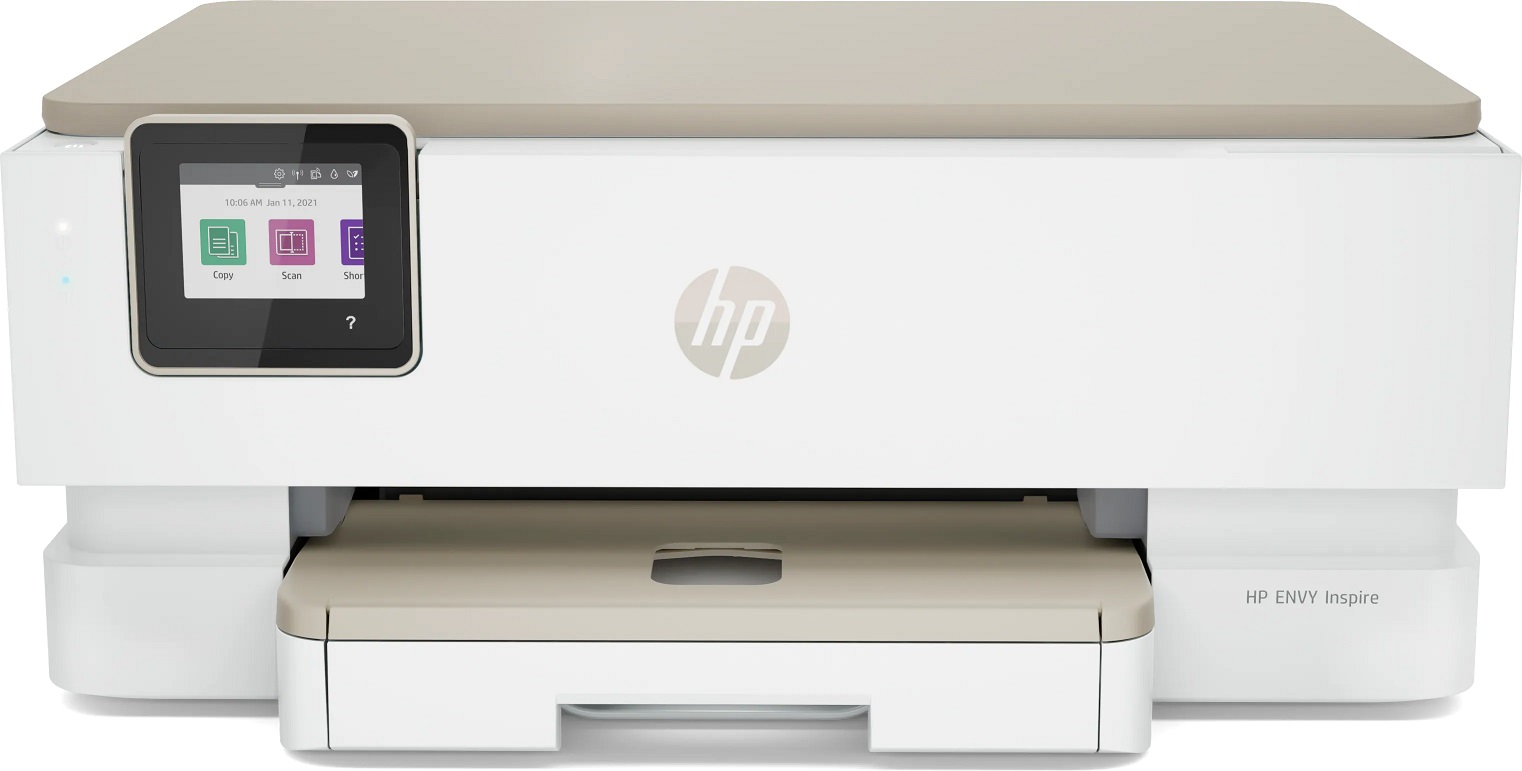
Envy Inspire 7224e All-in-One
|
This image shows the front of the cartridge,
the product code and colour can be found
on the label.
|
|
|
|
The back of the cartridge can be seen in
this image, the blue tape must be removed
before installation.
|
|
|
|
This image shows the left side of the cartridge,
the paper covering the chip must also be
removed before installing.
|
|
|
|
The right side of the cartridge can be seen
in this image, the batch code can be found
on the smaller label.
|
|
|
|
This image shows the top of the cartridge,
this is the chip,
do not
remove this.
|
|
|
"Used or counterfeit" / "Used cartridges"
- This message appears because the compatible cartridges are remanufactured.
- Press OK and continue using the cartridge as normal.
Ink levels are low or not shown
- This is due to the type of chip used on the compatible cartridges.
- Press OK/Continue and use the cartridge as normal.
"Remove and reinstall cartridge" / Cartridge not connecting with the printer
The compatible cartridge has been installed correctly but the printer reports any of the above messages. This could be caused because the printer does not recognise the cartridge chip.
Resolution 1: Reset the printer
- Remove the affected cartridge/cartridges from the printer.
- Turn the printer off and wait for 2 minutes.
- Turn your printer back on and wait for a further 2 minutes.
- Once the printer warns that certain cartridge/cartridges are missing, re-install them one at a time.
Resolution 2: Clean the cartridge chip
- Remove the affected cartridge from the printer.
- Clean the cartridge chip with a lint-free wipe to remove any dust or dirt particles.
- Reinstall the cartridge in the printer.
Cartridge not recognised
After installing the cartridge the printer is showing the cartridge as not installed correctly.
Resolution 1: How to clean the cartridge chip
Before installation, please follow these instructions on how to clean the cartridge chip.
- Remove the packaging from the new cartridge.
- Using a dry lint-free cloth, clean the gold contacts on the back of the cartridge.
- Install the new cartridge into your printer.
- Wait until the printer has recognised the cartridge before use.
This process helps to remove any dirt or residue ink on the chip which can cause recognition issues.
Resolution 2
- Remove the cartridge and wipe the gold-coloured electrical contacts with a tissue before reinstalling the cartridge.
- If this doesn't work, repeat the process 2-3 times.
Problem: printing blank pages / fading on print / incorrect colours being produced
If printouts are coming out very faded, blank, or with incorrect colours, there may be a blockage in the print nozzles caused by dried ink particles or an air lock.
This can be remedied by carrying out the following manual cleaning procedure:
- Take a cotton bud and dampen it with some warm water. Gently wipe around the area of the printhead at the base of the cartridge.
- Afterwards, dab the printhead onto a clean, absorbent paper kitchen towel until the ink begins to filter through.
- For the black cartridge, a full black oval shape should be visible on the kitchen towel.
- For the colour cartridge, three distinct oval or round shapes should be visible on the kitchen towel: cyan, magenta and yellow.
- Take a clean, dry paper kitchen towel and gently wipe the copper contact points at the back of the cartridge and the contacts inside the printer cartridge carrier.