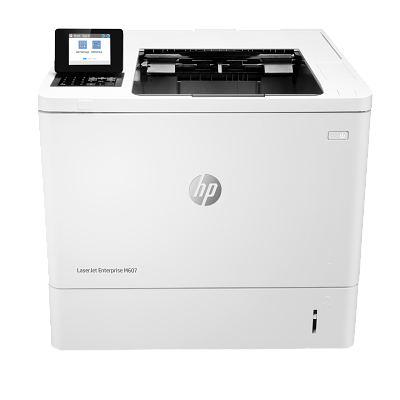
M607dn
Cartridge is not compatible / Cartridge is not recognised
- The compatible cartridge has been installed correctly, but the printer is not registering it as installed or states it is not compatible.
- Remove the affected cartridge or cartridges from the printer.
- Turn the printer off and wait for 2 minutes.
- Turn the printer back on and wait for a further 2 minutes.
- Once the printer warns that certain cartridge or cartridges are missing, reinstall them one at a time.
Note: Before replacing any maintenance items
- Power off the printer.
- Wait 30 seconds, then disconnect the power cord.
- Allow 15 minutes for the printer to cool completely before proceeding.
What items are included in the Compatible HP L0H25A 220V Maintenance Kit?
The L0H25A-REM contains the following:
- 1 x Fuser unit
- 1 x Transfer roller
- 1 x 5 piece paper pickup roller with installation tool
- 1 x 5 piece seperation roller with tool
The image below shows which item is which:
How do I replace the fuser unit?
- 1. Open the rear cover to locate the fuser unit at the top.
- 2. Press both release tabs on the sides of the fuser unit and pull it out.
- 3. Insert the new fuser and push firmly until you hear a click.
- 4. Close the rear cover.
How do I replace the transfer roller?
Do not touch the black surface of the new roller. Oils from your skin will degrade print quality.
- 1. Open the rear cover. The transfer roller at the bottom will automatically drop down into view.
- 2. Unclip the blue latches on both sides of the transfer roller and remove it from the printer.
- 3. Install the new roller by inserting the right side first, followed by the left. Ensure it clicks into place.
- 4. Close the rear cover.
How do I replace the pickup/seperation roller?
- 1. Open the rear printer cover
- 2. Lift the transfer roller section to access the rollers hidden behind it.
- 3. Slide the blue separation roller to the left until it unlocks, then pull it out and remove it.
- 4. For the pickup roller, pull down the next visible blue tab and slide the roller to the left to remove it.
- 5. Slide the new pickup roller in the same way the old one was taken out, then push the blue release and roller lever up to lock it into place.
- 6. Align the opening in the new separation roller with the white tab on the printer rail, then slide the separation roller to the right to lock it into place.
- 7. Close the rear printer cover.
Brand names and trademarks are the property of their respective holders and are used for description purposes only.