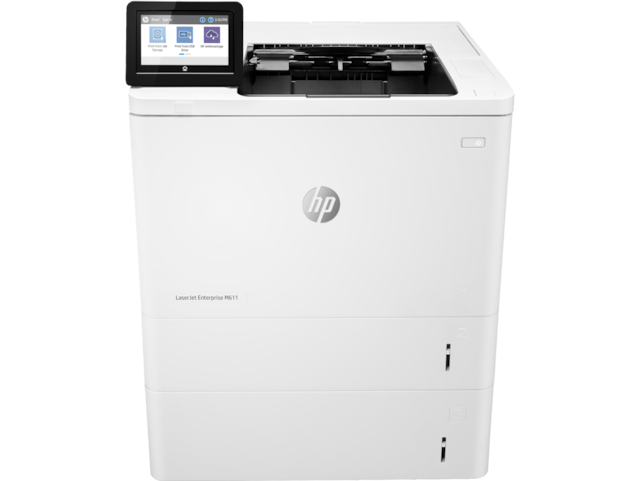
M611
Compatible HP 147A Toner
|
This image shows the front of the cartridge,
the small
label displays the batch code.
|
|
|
|
The back of the cartridge can be seen in this
image,
the black paper must be removed before installation.
|
|
|
|
This image shows the left side of the cartridge.
|
|
|
|
The right side of the cartridge can be seen in
this image.
|
|
|
Cartridge is not compatible / Cartridge is not recognised
- The compatible cartridge has been installed correctly, but the printer is not registering it as installed or states it is not compatible.
- Remove the affected cartridge or cartridges from the printer.
- Turn the printer off and wait for 2 minutes.
- Turn the printer back on and wait for a further 2 minutes.
- Once the printer warns that certain cartridge or cartridges are missing, reinstall them one at a time.
My prints are faded
- If the print quality is poor, remove the toner cartridge from the printer and gently rock the cartridge from side to side.
- This movement helps distribute the toner evenly within the cartridge.
- After rocking the cartridge 5–6 times, re-insert the cartridge into the printer and print a test page.
- If the issue persists, check the life of the maintenance items in your machine in case any of them need to be replaced.
Faint characters on printouts
- Print 15–20 pages and check to see if the problem persists.
Streaks on the page
- Remove the toner cartridge from the printer and gently rock the cartridge from side to side.
- This movement helps distribute the toner evenly within the cartridge.
- Carefully clean the drum roller to remove any excess toner.
- Re-insert the cartridge into the printer and print a test page.
- If the problem persists, repeat the previous steps.
Note: Before replacing any maintenance items
- Power off the printer.
- Wait 30 seconds, then disconnect the power cord.
- Allow 15 minutes for the printer to cool completely before proceeding.
What items are included in the Compatible HP L0H25A 220V Maintenance Kit?
The L0H25A-REM contains the following:
- 1 x Fuser unit
- 1 x Transfer roller
- 1 x 5 piece paper pickup roller with installation tool
- 1 x 5 piece seperation roller with tool
The image below shows which item is which:
How do I replace the fuser unit?
- 1. Open the rear cover to locate the fuser unit at the top.
- 2. Press both release tabs on the sides of the fuser unit and pull it out.
- 3. Insert the new fuser and push firmly until you hear a click.
- 4. Close the rear cover.
How do I replace the transfer roller?
Do not touch the black surface of the new roller. Oils from your skin will degrade print quality.
- 1. Open the rear cover. The transfer roller at the bottom will automatically drop down into view.
- 2. Unclip the blue latches on both sides of the transfer roller and remove it from the printer.
- 3. Install the new roller by inserting the right side first, followed by the left. Ensure it clicks into place.
- 4. Close the rear cover.
How do I replace the pickup/seperation roller?
- 1. Open the rear printer cover
- 2. Lift the transfer roller section to access the rollers hidden behind it.
- 3. Slide the blue separation roller to the left until it unlocks, then pull it out and remove it.
- 4. For the pickup roller, pull down the next visible blue tab and slide the roller to the left to remove it.
- 5. Slide the new pickup roller in the same way the old one was taken out, then push the blue release and roller lever up to lock it into place.
- 6. Align the opening in the new separation roller with the white tab on the printer rail, then slide the separation roller to the right to lock it into place.
- 7. Close the rear printer cover.
Printers that use HP 147A / 147X / 147Y cartridges
To see a full list of products that work in your printer, click on the model name below:
Printer Consumables (HP 147A / 147X / 147Y)
| W1470A | W1470A-REM | W1470X | W1470X-REM |
| W1470Y | W1470Y-REM | L0H25A |
Brand names and trademarks are the property of their respective holders and are used for description purposes only.
Brand names and trademarks are the property of their respective holders and are used for description purposes only.